Most Dam Battlegrounds guides send you straight through Control Tower or Research & Administration, the two zones every other player is already fighting over.
This route does the opposite.
It sticks to low-traffic buildings, domes, and outposts, and it’s built around a specific problem: what to do when you spawn in late, staggered, or into a night raid where the obvious spots are already picked clean.
A creator ran this exact path start to finish and mapped every crate, cache, and blueprint spawn along the way.
Table of Contents
- What You’ll Need
- Route Overview
- [Pipeline Tower Spawn and First Weapon Crate]> (#pipeline-tower-spawn-and-first-weapon-crate)
- Bridge Breach and the Climb to the Domes
- [Old Battlegrounds and the Swamp Outpost Crate Cluster]> (#old-battlegrounds-and-the-swamp-outpost-crate-cluster)
- Water Tower Stack and Raider Cache Run
- Formakai Hills Arc Probe Stop
- Testing Annex Blueprint Spawns
- The Dam Climb Shortcut
- What’s Changed Since This Route Was Filmed
- Alternate Extraction Options
- Best Times to Run This Route
- Key Takeaways
- FAQ
What You’ll Need
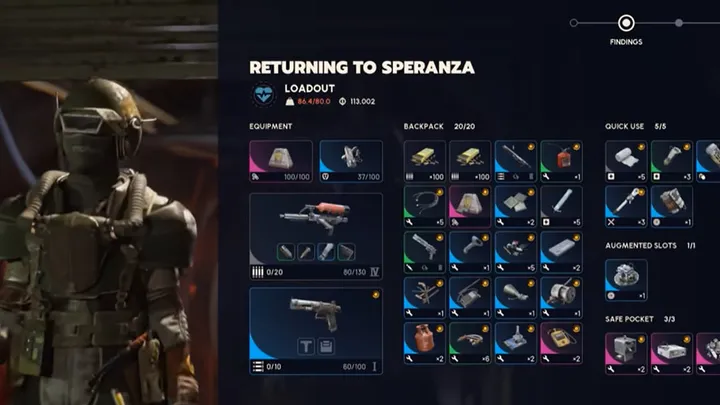
The route works with as few as four zip lines, though six keeps things moving without needing to double back for a used line.
Bring extra heavy ammo if your loadout leans that way, since several of the crate spawns favor it.
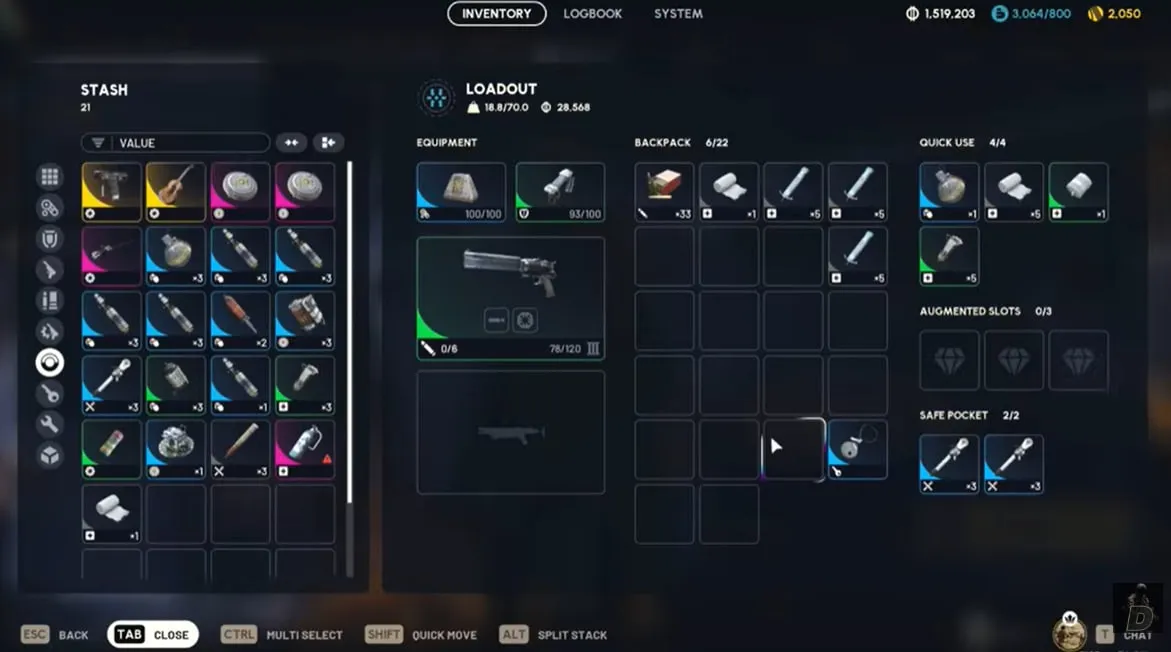
A couple of stims matter more than they might seem. One specific climb later in the route depends on having stamina to spare, and running dry partway up costs real time.
Route Overview
The run starts at Pipeline Tower, spawning in as Celeste, and ends at Test Extraction near Testing Annex.
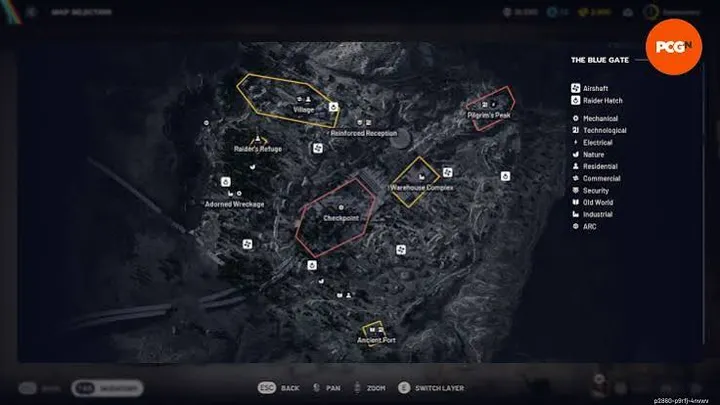
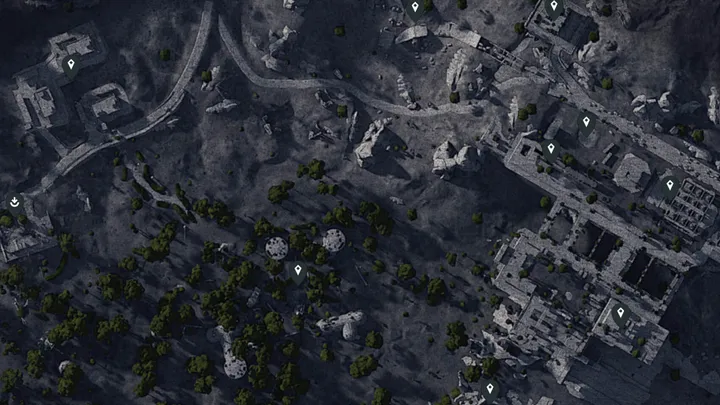
Between those two points it threads through the bridge breach area, the domes, Old Battlegrounds, Swamp Outpost, the water towers, Formakai Hills, and Testing Annex itself.
The whole point of this path is that it rarely crosses paths with the map’s PvP hotspots. That makes it a strong pick any time the server feels crowded or the raid started staggered.
Pipeline Tower Spawn and First Weapon Crate
From the Pipeline Tower spawn, head out the bottom and sprint toward the nearby corner, watching for a Leaper along the way.
A weapon crate can spawn just past this corner, alongside an ammo crate.
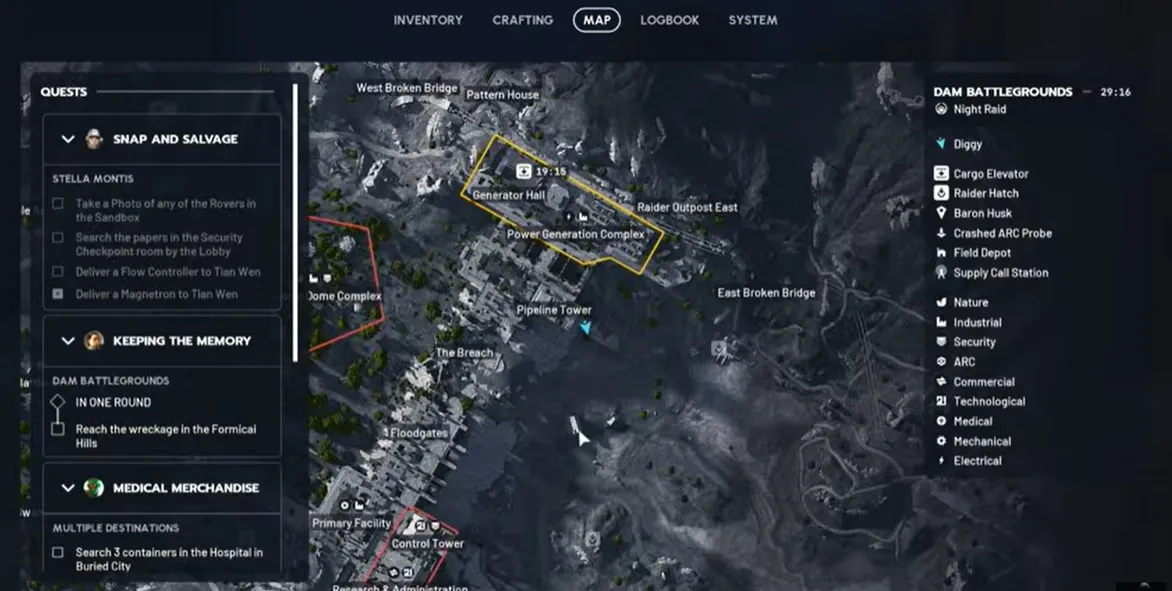
A Raider Cache also spawns nearby, tucked into a spot easy to miss if you’re not listening for the audio cue. It’s worth pausing here rather than rushing past it, since it’s an easy source of ammo you’ll want early.
Sort through it for heavy ammo specifically and leave the light stuff behind if your loadout doesn’t use it.
From this first area, head up the hill toward the bridge. There’s typically a bit of player activity around the bridge itself, so it’s worth a quick look before committing to the climb.
Bridge Breach and the Climb to the Domes
Underneath the small bridge near the start of the route, another weapon crate can spawn.
This is where the route’s first zip line comes into play, used to cross toward higher ground near the domes.
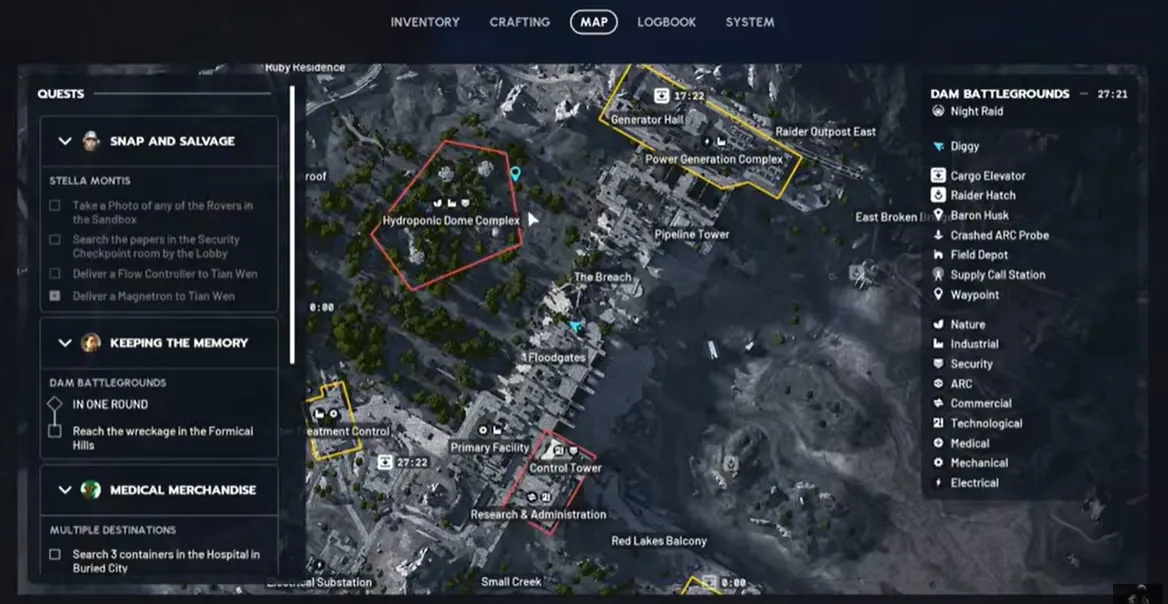
Timing matters here more than positioning. If another player or an ARC unit is moving through the same area, letting them get ahead before you move keeps this crossing quiet.
Once up near the domes, a Raider Cache spawns close by, along with a mix of ammo, heals, and grenades.
This section plays especially well during cold snap or night raid conditions, since visibility and player density both drop.
Old Battlegrounds and the Swamp Outpost Crate Cluster
From the domes, the route heads down toward Old Battlegrounds, passing a small dome structure worth a quick check for an ammo box spawn.
From there, continue on toward Swamp Outpost, sticking to the outer edge rather than cutting straight through the middle to avoid unnecessary encounters.
Swamp Outpost is the densest single stop on this route. Up to three separate weapon crate spawns can appear here: one on the front or back step of the building, one on the roof, and one inside.
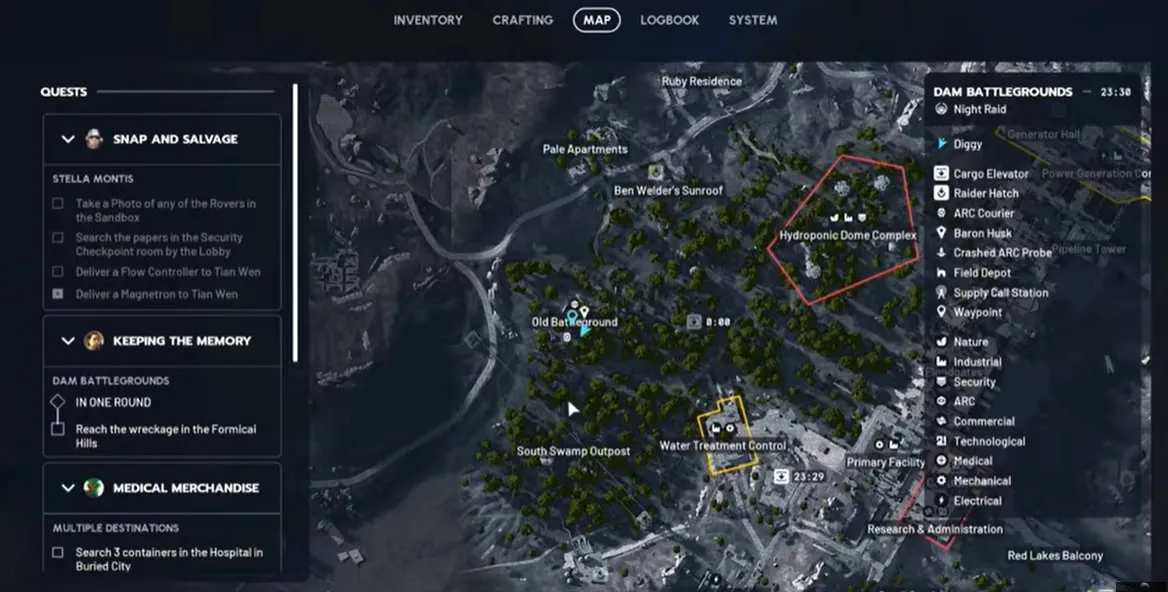
Not all three spawn every raid, so it’s worth checking all of them rather than assuming a miss on one means the whole building is empty.
This cluster alone can be worth the detour even on a night where the rest of the route comes up light.
Water Tower Stack and Raider Cache Run
Past Swamp Outpost, the route continues toward the water towers, using zip lines along the way.
A small building along this stretch is worth checking for containers, though it’s a common spot for other players to loot early if they spawn nearby.
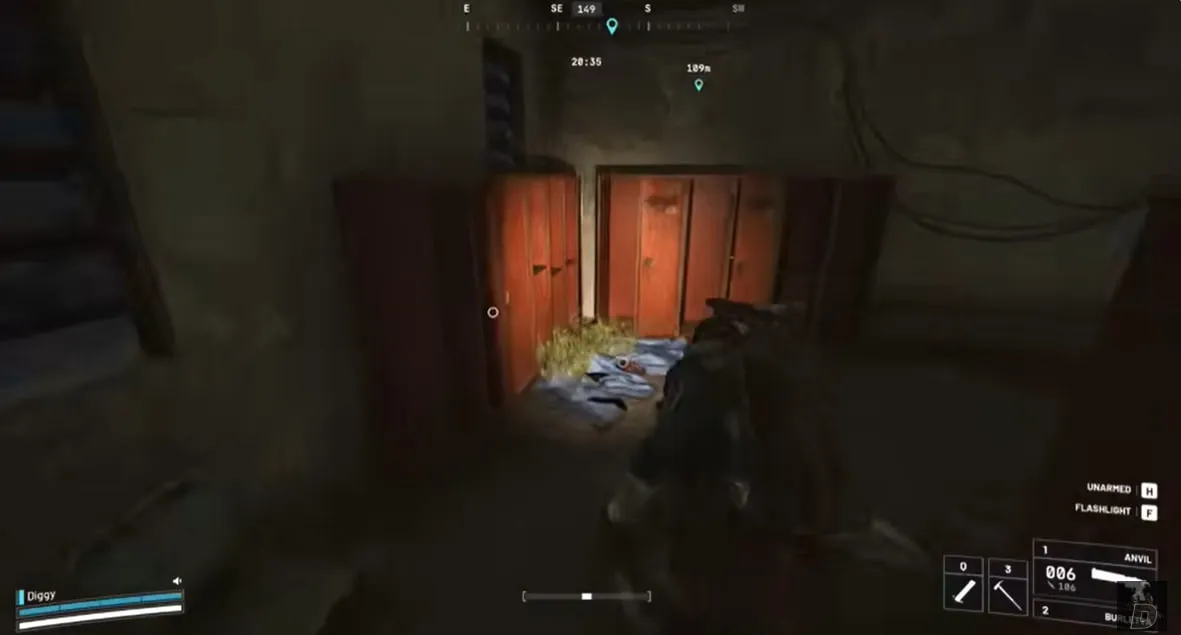
A Raider Cache spawns somewhere in this stretch as well. Push on toward the water towers themselves, where weapon crates can spawn on top of either tower.
Climbing both and comparing is worth the extra minute, since only one may have a crate on a given run.
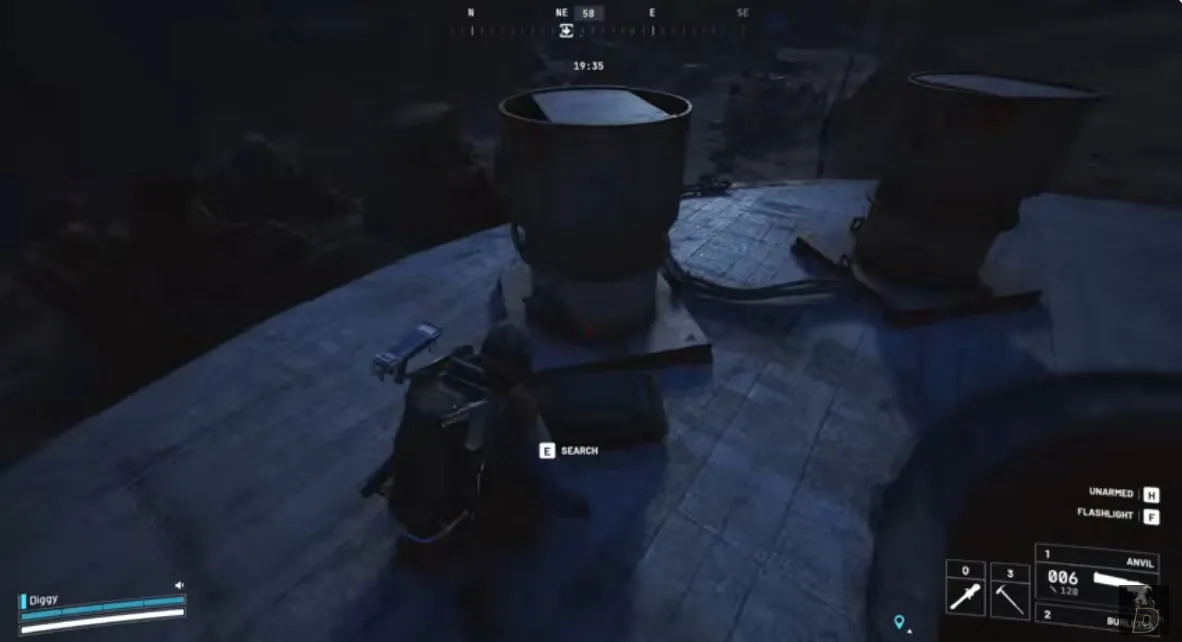
A zip line down from the towers lands you near another Raider Cache, setting up the push toward Formakai Hills.
Formakai Hills Arc Probe Stop
An Arc Probe sits along the path toward Formakai Hills and is worth a quick loot, mainly for crafting materials.
Results here vary a lot more than the fixed crate spawns elsewhere on the route, so treat this stop as a bonus rather than a core objective.
From here, the route continues down toward Testing Annex, the most loot-dense stop on the entire run.
Testing Annex Blueprint Spawns
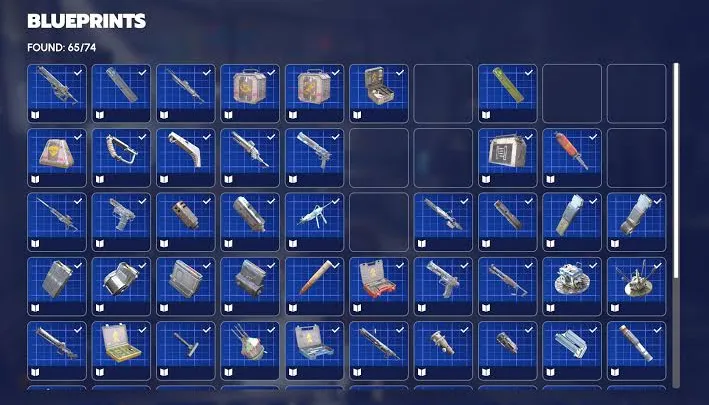
Testing Annex is where this route earns its reputation. On the creator’s run, this building alone produced two separate blueprints, on top of standard container loot on the ground floor and a rooftop section reached by a technical climb.
Worth setting expectations here: Embark has lowered blueprint drop rates more than once since this run was filmed, so pulling two blueprints from one building in a single pass is less likely today than it was on camera.
Testing Annex is still a strong stop for standard loot and a shot at a blueprint, just don’t plan a route around guaranteeing that result.
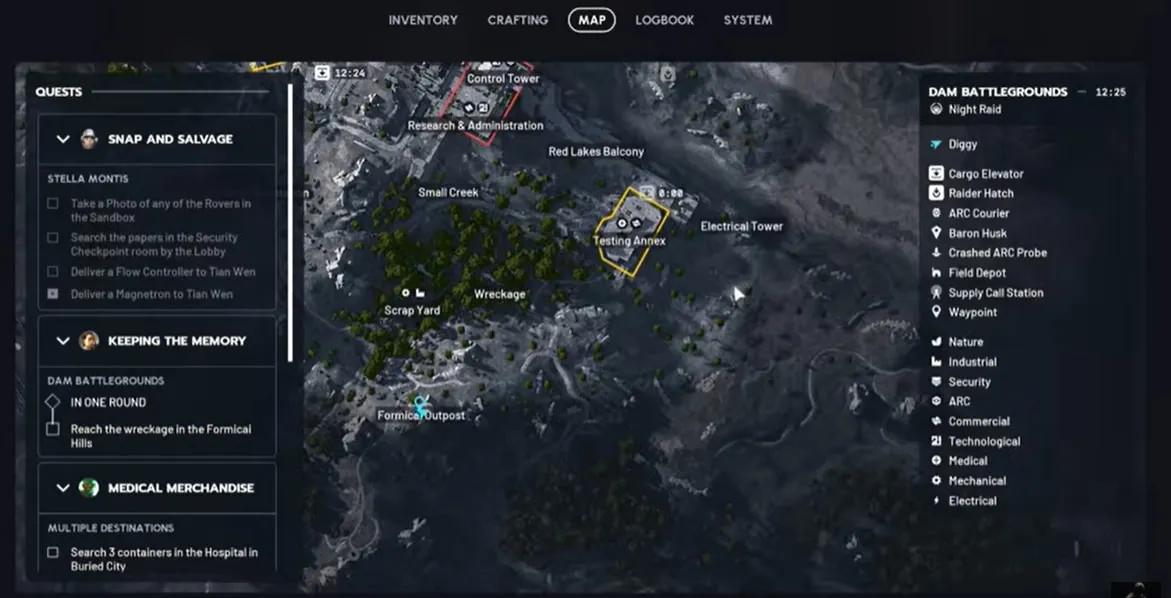
The climb up to the roof takes some practice. It involves a jump-and-mount motion that trips up a lot of players on the first few tries.
Moving slightly forward into the jump instead of straight up makes it far more consistent.
Once up top, expect sensors, grenades, and a possible weapon crate. Loot the ground floor thoroughly before heading up, since it’s easy to miss a corner in the rush to reach the roof.
The Dam Climb Shortcut
This is the route’s signature move. Instead of taking the long way around, there’s a direct climb straight up the face of the dam from a specific spot at the bottom.
Pop a stim before attempting it. Look straight down rather than at the top of the dam, and sprint up from that exact position.
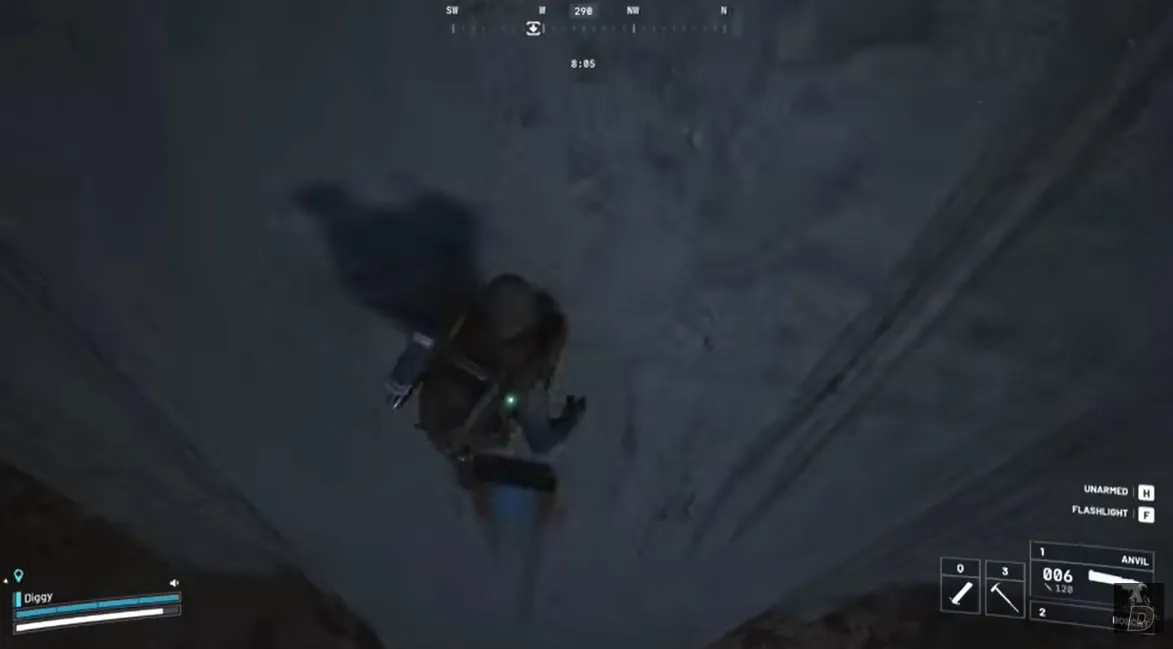
This technique comes from the creator’s own testing and has not been independently corroborated against official patch notes or the community wiki. Treat it as a community-known trick rather than a guaranteed mechanic, and be ready for it to feel inconsistent between patches.
At the top, roll off to the side and make for the ladder.
A room near the top of this climb can hold a weapon crate, two security breach containers, and a couple of additional containers worth checking, making the detour worth it even without the shortcut’s time savings.
What’s Changed Since This Route Was Filmed
Dam Battlegrounds picked up a new interior area, the Controlled Access Zone, near the Power Generation Complex as part of the Shrouded Sky update, reached by descending a ladder near the north side of the map.
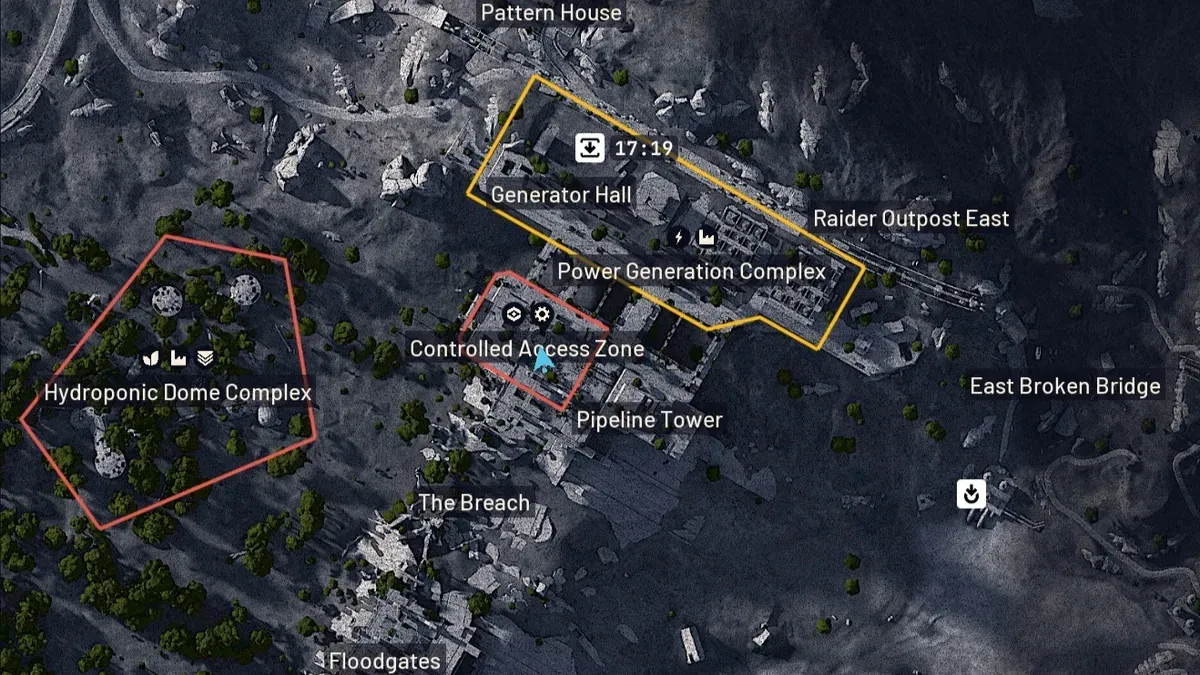
This route never crosses that part of the map, so nothing above is affected by the change. It’s still worth knowing about if you’re looking to extend this run rather than head straight to extraction, since it’s an additional loot zone sitting just outside the route’s northern edge.
Blueprint drop rates have also been lowered more than once since this route was filmed, most notably a rare-blueprint nerf that landed in early 2026.
The crate, cache, and container locations described throughout this guide are unaffected, but the blueprint pulls specifically are less consistent to reproduce today than they were on camera.
Alternate Extraction Options
The route as filmed ends at Test Extraction near Testing Annex.
Dam Battlegrounds is built around a large, crumbling dam that splits the map into distinct zones, so if that extraction point looks contested when you arrive, it’s worth checking your map for a closer alternative rather than pushing through resistance to reach it specifically.
Best Times to Run This Route
This route is built for situations where the obvious loot is already gone.
Staggered spawns are the clearest case, since a normal 17-minute-mark spawn usually means everything worth grabbing has already been picked over, leaving PvP as the only real option elsewhere on the map.
Night raids and cold snap events both thin out visibility and player density, which plays directly into this route’s strength: a path that avoids the map’s PvP hotspots in favor of quieter buildings and outposts.
Key Takeaways
- Starts at Pipeline Tower, ends at Test Extraction near Testing Annex
- Deliberately avoids Control Tower and Research & Administration
- Swamp Outpost holds up to three weapon crate spawns in one stop
- Testing Annex produced two blueprints in the creator’s own run, though blueprint rates have since been nerfed
- The dam climb shortcut needs a stim and exact positioning to pull off
- Works best during staggered spawns, night raids, and cold snap events
- The Shrouded Sky update’s Controlled Access Zone sits outside this route entirely
FAQ
Where does this Dam Battlegrounds loot route start?
The route starts at Pipeline Tower, spawning in as Celeste. From there it moves through the bridge breach area, up to the domes, down through Old Battlegrounds and Swamp Outpost, out to the water towers, over to Formakai Hills, into Testing Annex, and finally out through the dam to Test Extraction.
Do I need zip lines for this route?
You can get through most of the route with four zip lines, though six lets you move faster and skip resetting them. A couple of the stops, like the swamp crate cluster and Old Battlegrounds, do not require any zip lines at all.
How many weapon crates does this route pass?
The route passes roughly a dozen potential weapon crate spawns, including a three-crate cluster at Swamp Outpost and two separate spawns at the water towers. Not all of them spawn every raid, since crate spawns are randomized.
Is this route good for solo players?
Yes. It deliberately avoids high-traffic zones like Control Tower and Research & Administration in favor of quieter buildings, domes, and outposts, which makes it a safer pick for solo runs than routes that push straight through the map’s PvP hotspots.
What’s the best time to run this Dam Battlegrounds route?
It performs best during staggered spawns, night raids, and cold snap events, since those conditions thin out player traffic and make the quieter stops on this route even less contested.
Are the weapon crate spawns on this route guaranteed?
No. Every crate spawn mentioned in this guide is a known possible location, not a guaranteed one. The creator’s own run found some crates empty and others full, which is normal for Arc Raiders loot spawns.
Can I find blueprints on this route?
Testing Annex is the strongest blueprint stop on this route. The creator pulled two separate blueprints from containers inside during their run, though blueprint drop rates have been lowered more than once since, so that result is harder to reproduce today than it was on camera.
Where does this route extract?
The route ends at Test Extraction near Testing Annex. If that point looks contested when you arrive, check your map for a closer extraction rather than fighting through resistance to reach this specific one.
What changed on Dam Battlegrounds since this route was recorded?
The Shrouded Sky update added a new Controlled Access Zone near the Power Generation Complex, which sits outside this route entirely. Blueprint drop rates have also been lowered more than once since filming, so the two-blueprint result from Testing Annex is less consistent to reproduce today.
What loadout works best for this route?
A loadout with extra heavy ammo, four to six zip lines, and at least a couple of stims makes the route flow much better. The stims matter for the dam climb specifically, since running out of stamina partway up costs time and exposes you.