Most raiders lose runs in Buried City by trying to clear every container on the map. Every extra building you loot adds time, adds noise, and adds a chance you run into someone else’s squad before you’re ready. The fix isn’t better aim. It’s looting less. A tight, three-building route through Buried City can outproduce a full clear, and it gets you out faster too.
Table of Contents
- Why Selective Looting Beats Full Clears
- [The Route: Grandioso Apartments to the Jump-Over Building] (#the-route-grandioso-apartments-to-the-jump-over-building)
- Santa Maria Houses: Where the Real Loot Is
- What This Run Actually Produced
- Extracting Before Anyone Catches Up
- [Buildings Worth Knowing About (But Not on This Route)] (#buildings-worth-knowing-about-but-not-on-this-route)
- Key Takeaways
- FAQ
Why Selective Looting Beats Full Clears
Every minute spent in a low-value building is a minute you’re exposed with nothing to show for it. Buried City rewards raiders who treat the map as a short list of high-density spots, not a checklist.
Skipping thin containers means less time in open sightlines, fewer forced fights over empty rooms, and a faster path to extraction with a full bag. The goal on this route isn’t to see everything.
It’s to hit three buildings that consistently produce weapon cases, security breaches, and blueprints, and get out before the lobby catches up.
The Route: Grandioso Apartments to the Jump-Over Building
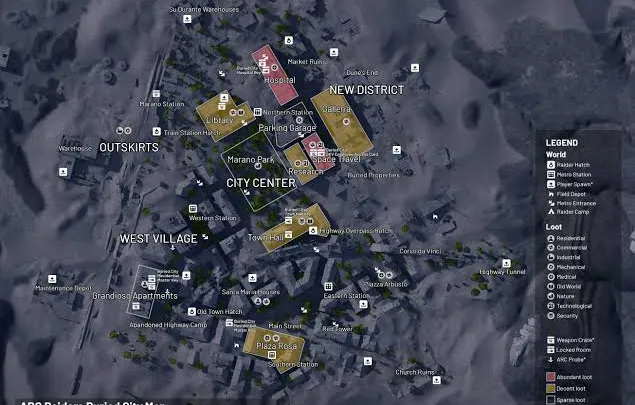
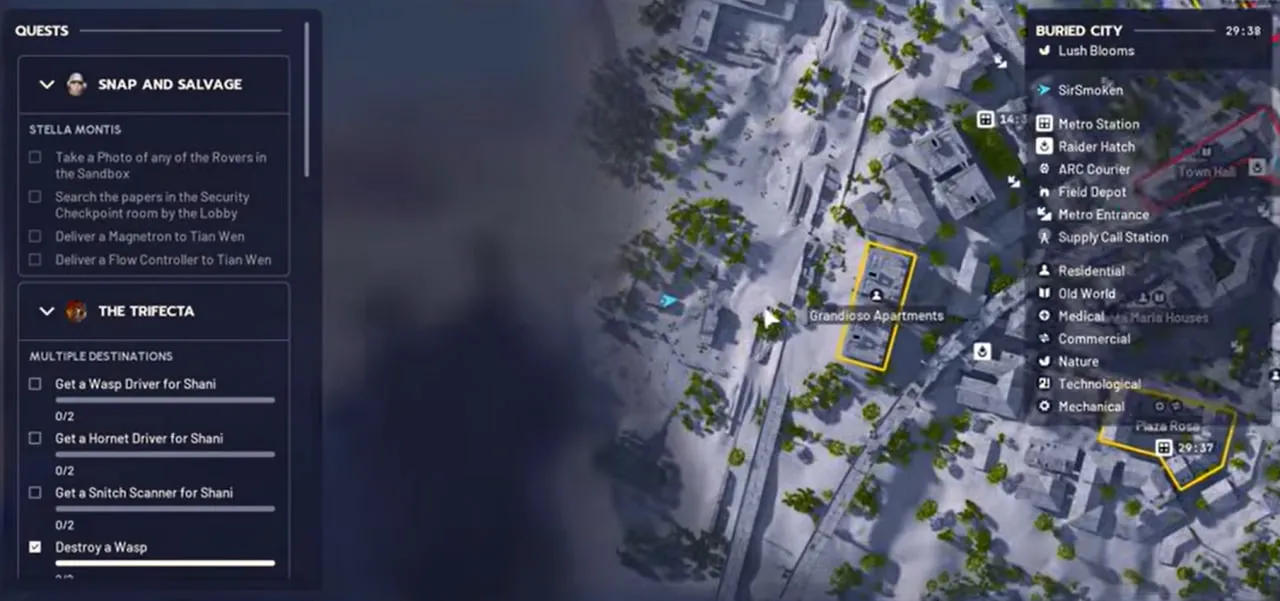
Depending on spawn, this route starts with a partial loot of Grandioso Apartments. Don’t clear the whole complex. One floor is usually enough before pushing toward the adjacent jump-over building, where every container is worth checking.
One area worth naming explicitly: raiders on this route sometimes call the drop-down zone near Grandioso “death valley.” That’s a creator nickname, not an official location name, but it earns the reputation.
Dropping in blind, especially if someone’s already inside, puts you in a bad spot fast. Stim up before pushing in, and expect PvP. Buried City’s population mix runs PvP-heavy often enough that you should plan for a fight in this zone rather than hope to avoid one.
Inside, loot durables selectively. Consolidate bandages rather than carrying duplicates. If a room is barred and already looted, skip it. Chasing a corner someone might be camping costs more time than the container is worth, especially without grenades to clear it safely.
Santa Maria Houses: Where the Real Loot Is
From the jump-over building, the route continues to Santa Maria Houses. This is where the run actually pays off. Expect camping near the entrance, but it’s still worth pushing through.
Hit the backpack near the entry point for crafting materials like wires and magnets, then work up to the security breach in the entry attic before crossing to the adjacent attic, the main compartment.
That second area is where the highest-value containers on this route tend to spawn: a second security breach, plus a gun case that can produce weapon-tier drops.
What This Run Actually Produced
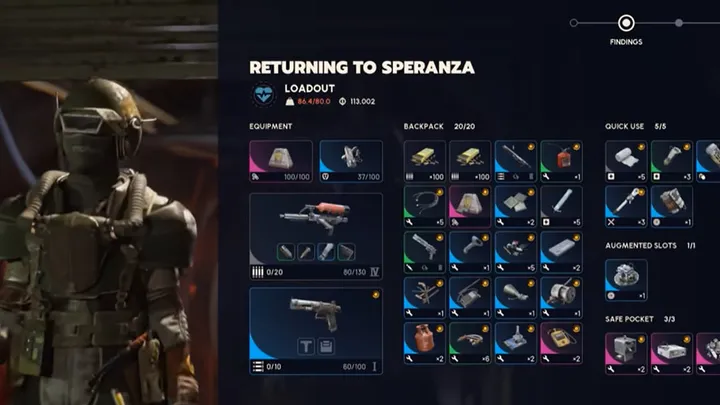
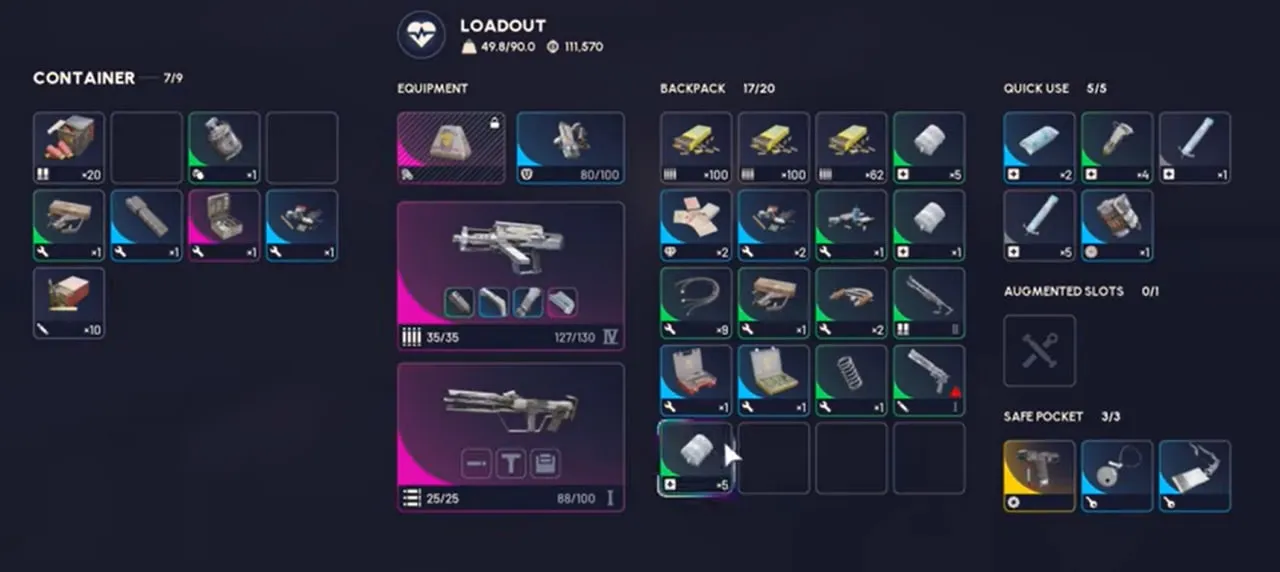
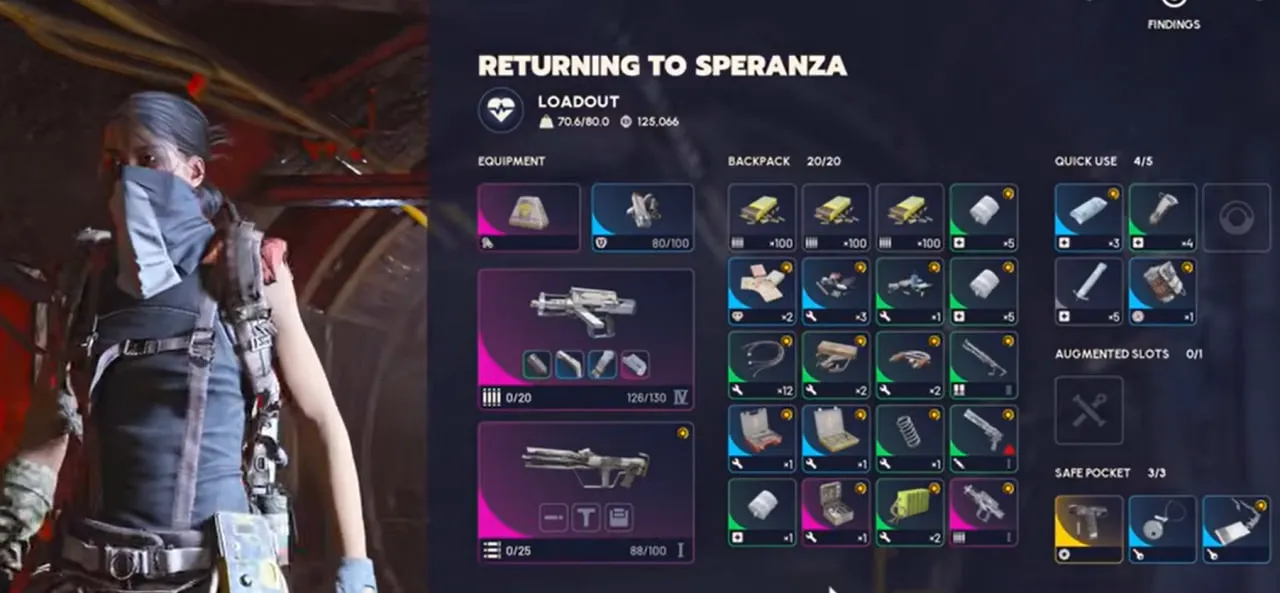
A recent breakdown of this exact route, running just these three buildings, came out of Buried City with a key for a future run, a large stack of heals, and two weapon-tier drops: a Tempest and a Bobcat.
Add in a gun case pull from an earlier stop and two security breaches, and that’s a full-value raid from a fraction of the map. That’s the case for selective looting in one raid: three buildings, not ten, and the bag still filled up.
Extracting Before Anyone Catches Up
Once your inventory is full, don’t keep pushing. Head straight for the nearest hatch. This is a common ambush point in Buried City since players expect you to be distracted by a full bag on your way out. Move with intent, use your dodges, and don’t stop to loot “just one more” container once extraction is the priority. If a hatch is closing as you arrive, it’s still worth the sprint. Making it through a closing hatch beats waiting for the next extraction window in a lobby that already knows where you’ve been.
Buildings Worth Knowing About (But Not on This Route)
Hospital, Space Travel, and Town Hall are consistently ranked among Buried City’s best loot zones, and they deserve that reputation for raw container density. They’re also some of the most contested spots on the map, and Town Hall requires a key to access its best loot. This route intentionally skips them. The Grandioso-to-Santa Maria path trades a bit of raw loot ceiling for a faster, lower-contest run, which is the entire point of looting selectively instead of chasing every high-value marker on the map.
Key Takeaways
- Full clears cost more time and PvP exposure than they’re worth in Buried City.
- A tight route through Grandioso Apartments, the jump-over building, and Santa Maria Houses can produce weapon-tier loot without touching the map’s most contested zones.
- The Santa Maria Houses’ opposite attic (the main compartment) is the highest-value stop on this route.
- Skip barred, already-looted rooms rather than risk a corner fight without grenades.
- Head to the nearest hatch the moment your inventory fills. Don’t loot “just one more” container on the way out.
- Hospital, Space Travel, and Town Hall remain strong picks, but this specific route trades their loot ceiling for speed and lower contest.
FAQ
What’s the best loot route in Buried City?
A route through Grandioso Apartments, the adjacent jump-over building, and Santa Maria Houses consistently produces weapon-tier drops and security breaches while avoiding Buried City’s most contested zones.
Should I loot every building in Buried City?
No. Full clears increase time spent exposed to PvP without a proportional increase in loot value. Sticking to a small number of high-density buildings is more efficient.
Is Grandioso Apartments worth looting fully?
Not on this route. One floor is usually enough before pushing to the adjacent jump-over building, where every container tends to be worth checking.
What is death valley in Buried City?
It’s a community nickname for a risky drop-down zone near Grandioso Apartments, not an official location name. It’s worth extra caution since it’s a common spot for players to already be waiting inside.
Where’s the best loot inside Santa Maria Houses?
The opposite attic, referred to as the main compartment, tends to hold the best containers, including a security breach and a gun case.
Why skip Hospital, Space Travel, and Town Hall?
They’re strong loot zones, but they’re also some of the most contested spots on the map, and Town Hall needs a key. This route trades their loot ceiling for a faster, lower-contest run.
When should I extract during a loot run?
As soon as your inventory is full. Head straight to the nearest hatch rather than continuing to loot, since full-bag players are common ambush targets.
Do I need grenades for this route?
Not required, but they help. Without one, skip rooms where someone could be camping a corner rather than pushing in blind.
Can I run this route without a Town Hall key?
Yes. This route doesn’t touch Town Hall at all, so a key isn’t necessary.
Is Buried City a PvP-heavy map?
It can be. Expect PvP encounters on this route, particularly near Grandioso Apartments and the Santa Maria Houses entrance.