Phantom Targets just went live, and it stacks three separate objective types on top of each other.
Burn a Leap Pulsion Unit on the wrong target and you’re stuck hunting another Leaper just to get one back.
This guide breaks down every stage of part 1: where to repair the antennas, the safest way to farm each damage-type item, and exactly which ARC to point them at.
Table of Contents
- What Is the Phantom Targets Project?
- [Stage 1: Repair the Three Cargo Elevator Antennas]> (#stage-1-repair-the-three-cargo-elevator-antennas)
- Stage 1 Rewards
- Stage 2: The ARC Damage Gauntlet
- Farming Pop Triggers
- Best Wasp Driver Method
- [Leap Pulsion Units: The Leaper Stun-Lock Combo]> (#leap-pulsion-units-the-leaper-stun-lock-combo)
- The Port Authority Shredder Farm Route
- Stage 2 Rewards
- [Stage 3: Fire, Energy and Flying ARC Requirements]> (#stage-3-fire-energy-and-flying-arc-requirements)
- [Fire Damage: Why the Bombardier Beats the Shredder]> (#fire-damage-why-the-bombardier-beats-the-shredder)
- [Energy Weapon Kills: Jupiter and the Bastion Weak Point]> (#energy-weapon-kills-jupiter-and-the-bastion-weak-point)
- Flying ARC Kills: Best Map and Targets
- Final Rewards and Part 2 Timing
- Key Takeaways
- FAQ
What Is the Phantom Targets Project?
Phantom Targets is a Player Project that arrived with Store Update 1.40.0 on August 4, 2026, built around Shani flagging discrepant surveillance data.
Part 1 is live now.
Part 2 arrives with Update 1.42.0 on August 18, alongside a separately named Phantom Targets Event.
That distinction matters. The official patch notes treat the ongoing Player Project and the later Event as two different things, even though a lot of early coverage lumps them together.
Part 1 splits into three stages:
- Repairing antennas
- A three-item ARC damage gauntlet
- A final round covering fire damage, energy weapon kills, and flying ARC kills
Stage 1: Repair the Three Cargo Elevator Antennas
You need to repair three Cargo Elevator Antennas, found on top of the elevator structures scattered across the map.
Two confirmed spots are the central swamp lift and the water treatment elevator, with a third antenna on another elevator rooftop.
Interact with each antenna to trigger the repair.
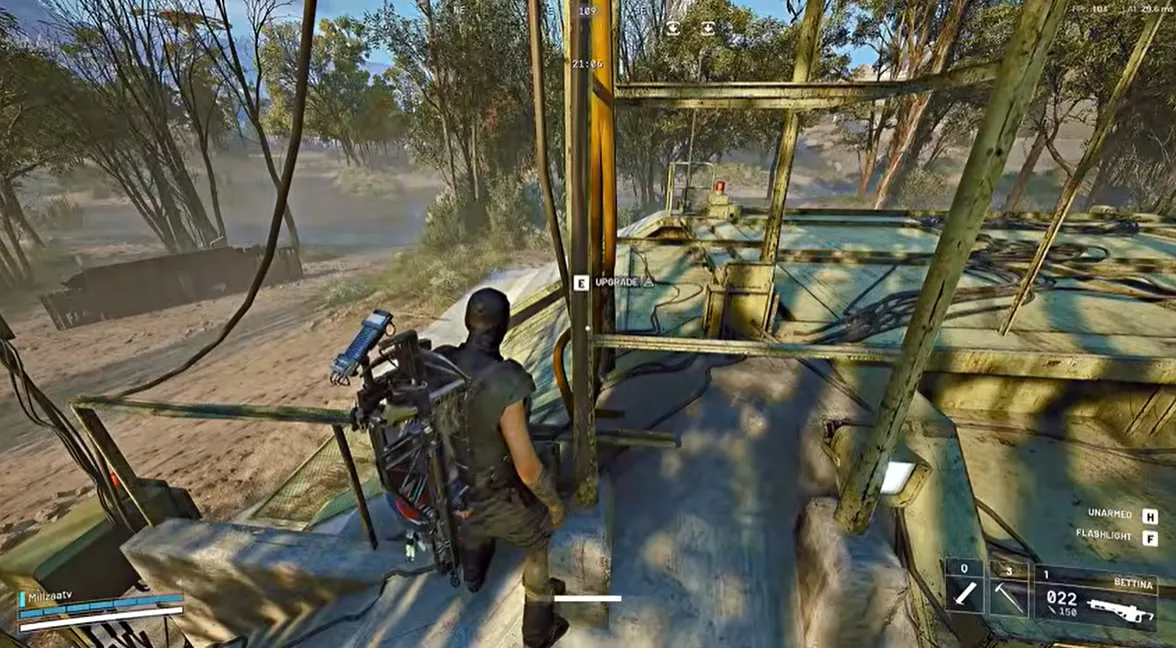
One quirk to watch for: after you upgrade an antenna, the repair animation sometimes replays and the progress bar looks like it reset to zero.
It didn’t.
The game is still tracking the repair correctly behind that visual glitch, so don’t waste time repeating a fix that already landed. Check your project tracker instead of trusting the bar.
Once all three antennas are confirmed repaired, the project moves you to Stage 2.
Stage 1 Rewards
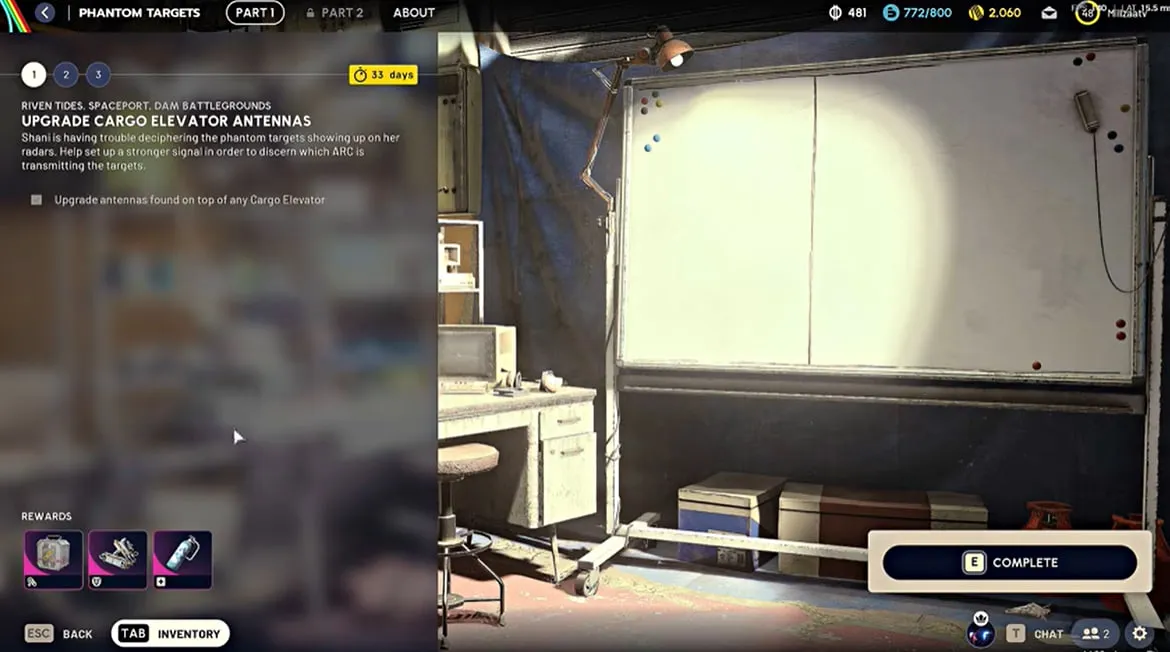
Completing Stage 1 grants an aggressive augment and a heavy shield, plus one additional item.
Confirm the exact name of that third reward in your own project menu before publishing, since the in-run audio wasn’t clean enough to nail down definitively.
Stage 2: The ARC Damage Gauntlet
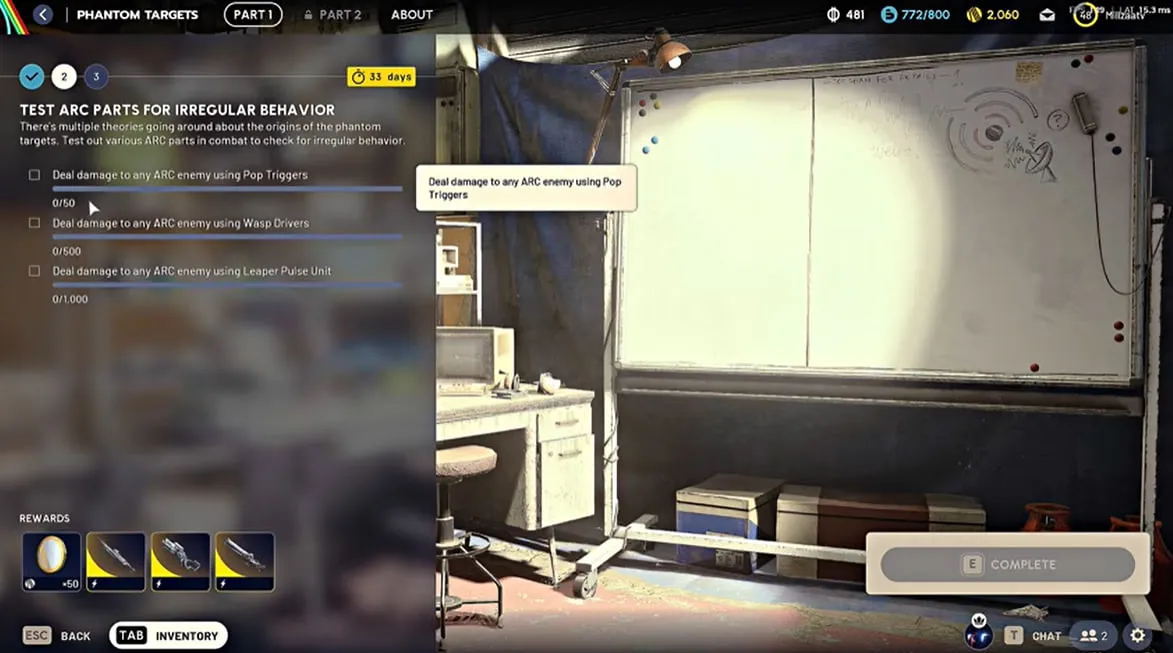
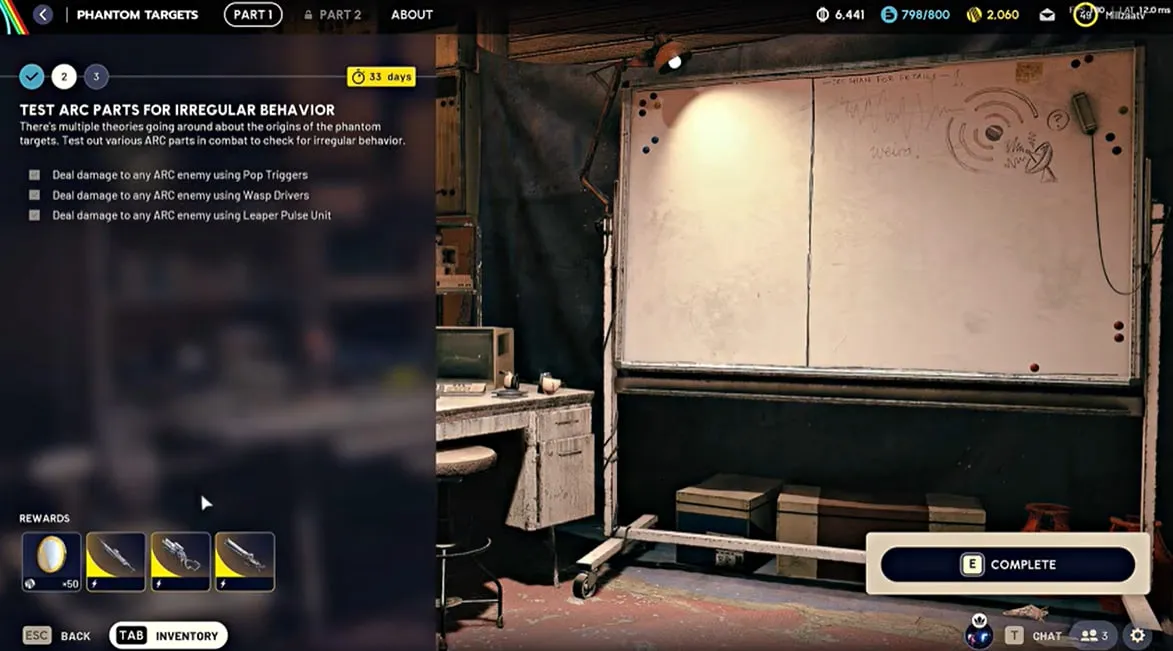
Stage 2 asks for damage dealt with three specific items:
- 50 damage using Pop Triggers
- 500 damage using Wasp Drivers
- 1,000 damage using Leap Pulsion Units
Each item drops from killing the ARC type it’s named after, so the real challenge is farming them efficiently rather than the damage numbers themselves.
Farming Pop Triggers
Pops are the easiest source here.
Let a Pop run straight at you, then dive or step across its path right before it detonates.
It pops on its own, no shots required, and drops a Pop Trigger.
A couple of these clears the 50 damage requirement without touching your ammo.
Best Wasp Driver Method
Shoot a Wasp’s central body instead of its rotors.
Hitting the rotors sends it careening around unpredictably, while a center hit drops it cleanly and reliably yields a Wasp Driver.
Leap Pulsion Units: The Leaper Stun-Lock Combo
Leap Pulsion Units only drop from Leapers, and they’re the scarcest item in this stage. Two farming approaches work:
Drop a jolt mine and let the Leaper aggro onto it, then throw Blaze Grenades while it’s stunned. The fire keeps stacking and each grenade re-stuns it, so you can chain several hits without much risk.
Alternatively, just shoot its exposed eyeball directly with a heavy weapon like the Anvil or the Patina.
Either method kills the Leaper and drops the unit you need.
The Port Authority Shredder Farm Route
This is the single most useful tactic in Phantom Targets: a repeatable, low-risk way to dump all three damage types onto one enemy.
Head to the Port Authority building on Riven Tides.
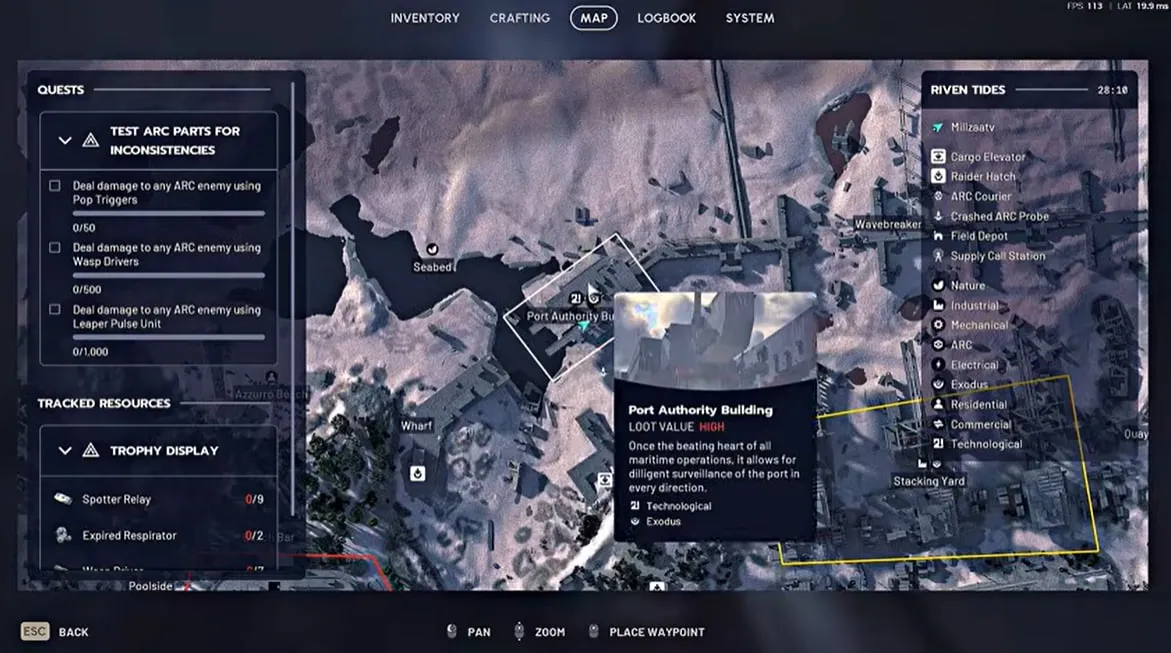
Clear the sentry turret guarding the entrance first, then find the Shredder inside and lure it up to the second-floor room.
Once it’s inside, close the door behind it. This traps it in a confined space where you control line of sight completely.
From here, use Showstoppers to stun it, then release your Pop Triggers or Wasp Drivers while it’s locked down. Closing the door again after releasing damage keeps it from wandering back out mid-fight.
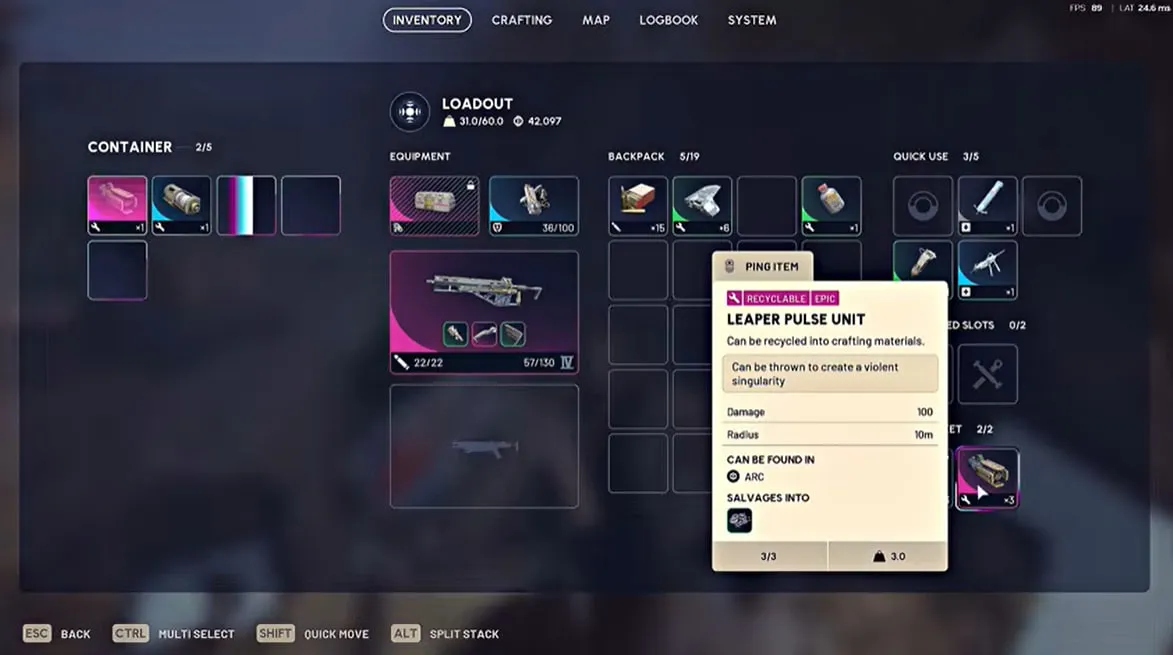
For Leap Pulsion Units specifically, cap yourself at two throws per Shredder encounter.
Testing found that a third throw rarely adds meaningful value; the Shredder is either already dead or the unit goes to waste on a target that’s about to die anyway.
A side test throwing Leap Pulsion Units at a Bastion instead produced similar or slightly lower damage than the Shredder method, despite the Bastion’s extra mobility making it harder to land hits consistently. The Shredder room is the safer and more efficient target.
Stage 2 Rewards
Clearing Stage 2 pays out three legendary weapons: the Jupiter, the Aelion, and the Dabra, along with a batch of radar tokens.
Stage 3: Fire, Energy and Flying ARC Requirements
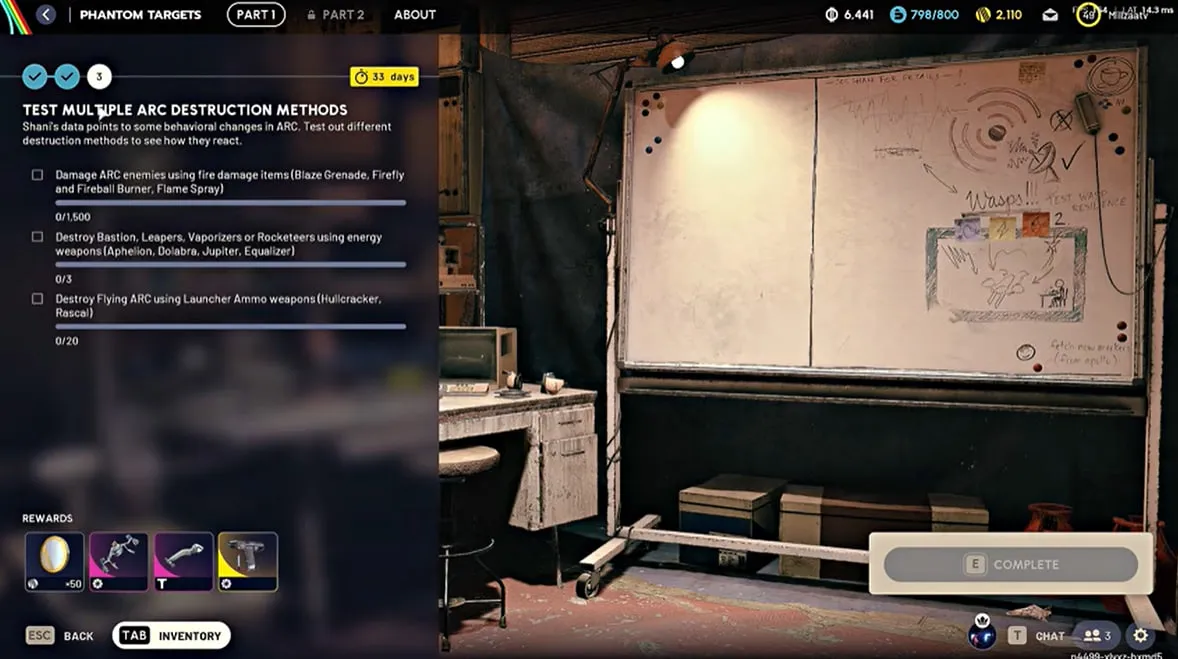
The final stage of part 1 covers three separate combat requirements:
- 1,500 fire damage
- ARC destroyed using energy weapons
- 20 flying ARC destroyed using launcher ammo
The exact kill count for the energy weapon objective wasn’t stated on-screen during this run, so treat that number as unconfirmed until you check your own project tracker.
Fire Damage: Why the Bombardier Beats the Shredder
The direct answer: target a Bombardier, not a Shredder, for fire damage.
Blaze Grenades and Fireball Burners deal identical damage, roughly 5 damage per second over 10 seconds each, so the item you use matters less than the target you use it on.
The Bombardier is the only common ARC that stays mostly still once aggroed, which means thrown fire consistently lands in the same spot instead of missing a target that’s moving away.
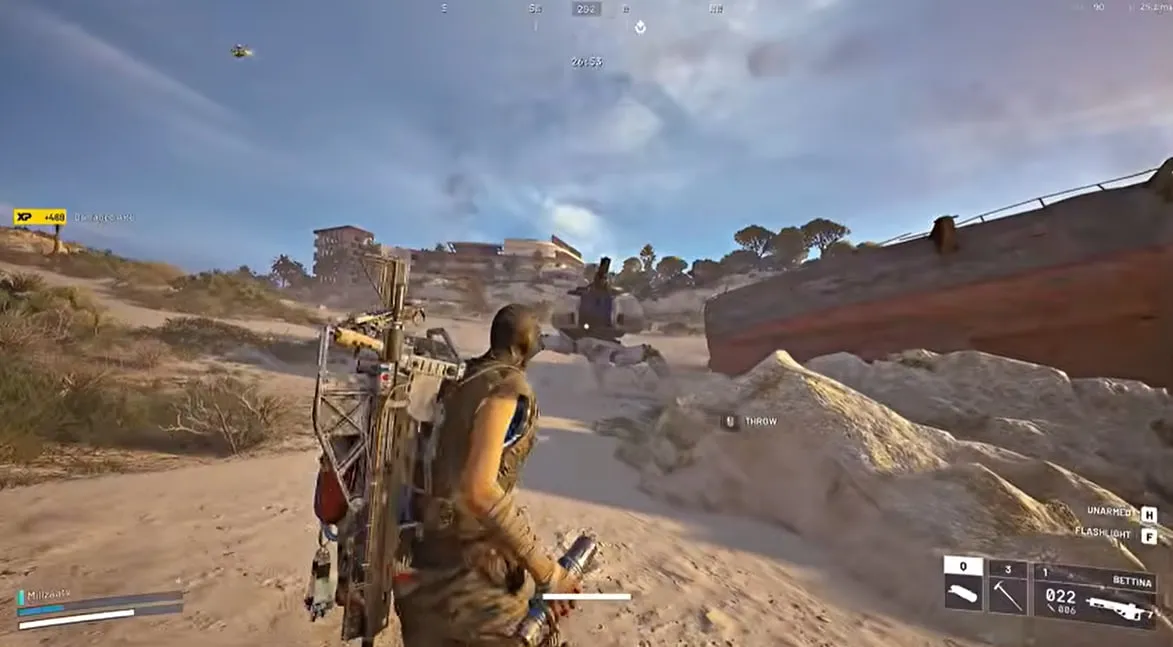
One run needed around eight Fireball Burners split across two farming trips to clear the 1,500 threshold on a Bombardier. The same count thrown at a Shredder fell short of the requirement, because the Shredder kept moving out of the fire pool between throws.
Fireball Burner spawns can be found reliably around the Custom House area on Riven Tides, as well as inside the nearby stacking yard building.
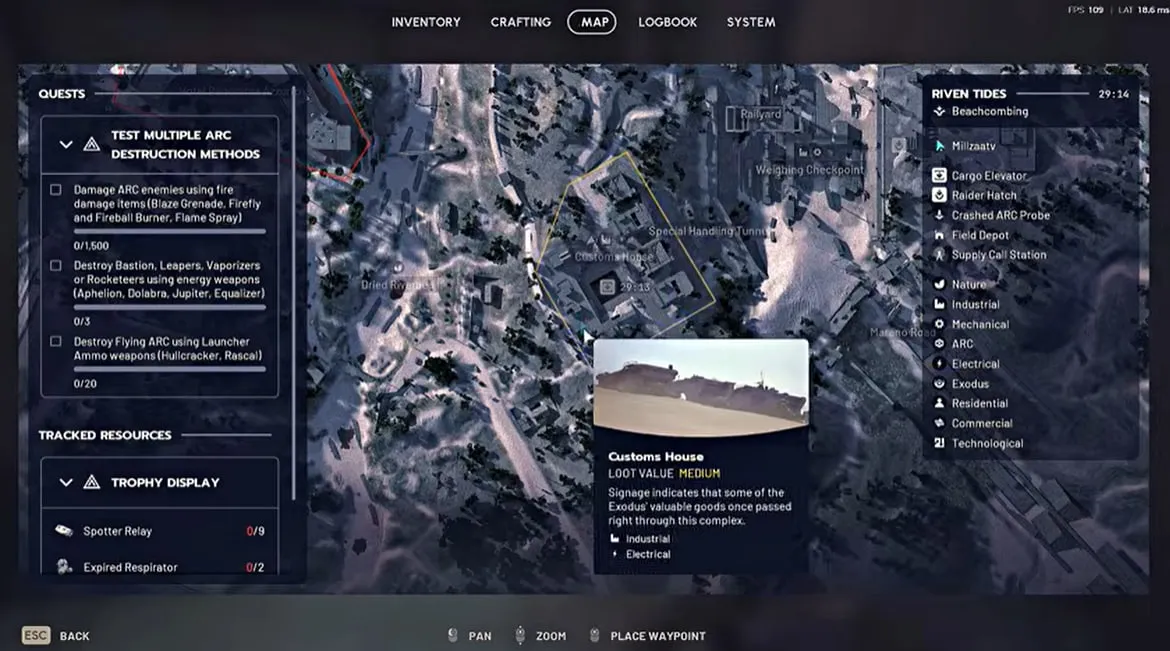
Energy Weapon Kills: Jupiter and the Bastion Weak Point
Use the Jupiter for this requirement. It outperformed both the Aelion and the Dabra in testing and works cleanly against multiple ARC types.
Against Rocketeers, hold distance of roughly 300 meters and use cover, since Rocketeers close ground fast and punish players caught in the open.
Against a Bastion, immobilize its legs with two shots first, then target the top plating. Breaking through the plating exposes its central core, which is the actual weak point and takes noticeably more damage than shooting the body directly.
Flying ARC Kills: Best Map and Targets
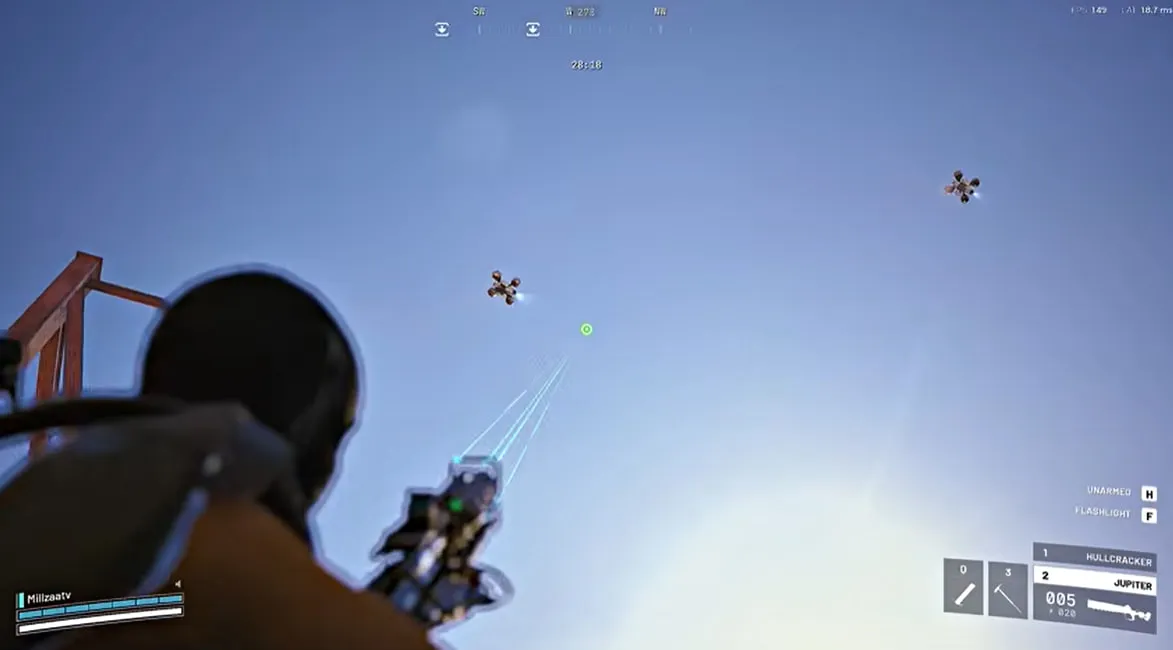
Riven Tides has the highest density of flying ARC of any map, making it the fastest place to clear this requirement.
Prioritize Wasps and Hornets over Rocketeers.
Rocketeers technically qualify as flying ARC too, but they soak up far more launcher ammo per kill, so they’re a worse use of your Hullcracker or Rascal rounds. Letting flyers close some distance before firing also helps avoid wasted shots at extreme range.
Final Rewards and Part 2 Timing
Completing all of Stage 3 unlocks a full set of part 1 rewards: additional legendary items, a heavy shield, an augment, and 100 radar tokens.
Part 2 then shows as locked for roughly two weeks, which lines up with the official date.
Update 1.42.0 brings part 2 on August 18, alongside the separate Phantom Targets Event.
Key Takeaways
- Phantom Targets part 1 launched August 4, 2026 with Store Update 1.40.0; part 2 arrives August 18 with Update 1.42.0
- The antenna repair bar can visually appear to reset after an upgrade; this is a known bug and the repair still counts
- The Port Authority Shredder room on Riven Tides is the most efficient farm spot for Pop Trigger, Wasp Driver, and Leap Pulsion Unit damage
- Cap Leap Pulsion Units at two throws per Shredder to avoid wasting the scarcest item in the gauntlet
- Target the Bombardier, not the Shredder, for the fire damage requirement since it stays stationary when aggroed
- The Jupiter is the strongest option for the energy weapon requirement, and Riven Tides has the most flying ARC for that final requirement
FAQ
When did Phantom Targets go live in Arc Raiders?
Phantom Targets went live on August 4, 2026, with Store Update 1.40.0. It arrived as a Player Project, tied to strange radar signals Shani flagged before the update dropped.
When does part 2 of Phantom Targets unlock?
Part 2 arrives with Update 1.42.0 on August 18, 2026, roughly two weeks after part 1. That update also introduces a separately named Phantom Targets Event, distinct from the Player Project itself.
Where do I repair the Cargo Elevator Antennas?
All three antennas sit on top of Cargo Elevator structures. Two confirmed spots are the central swamp lift and the water treatment elevator, with the third on another elevator rooftop nearby. Interact with each one to repair it.
Why does my antenna progress bar look like it reset after I upgraded it?
This is a known visual bug, not a failed upgrade. The repair animation replays and the bar appears to reset, but the game still counts the antenna as fixed. Check your project tracker rather than trusting the on-screen bar.
What’s the fastest way to get Pop Triggers?
Let a Pop run at you, then dive or step across its path right before it detonates. It pops on its own and drops a Pop Trigger without you needing to fire a shot. You only need a couple for the 50 damage requirement.
How do I get Wasp Drivers?
Shoot a Wasp’s central body instead of its rotors. Hitting the rotors sends it flying erratically, while a center hit brings it down cleanly and drops a Wasp Driver.
How many Leap Pulsion Units do I need, and where do I farm them?
You need enough for 1,000 damage, which usually takes two Leap Pulsion Units on a Shredder. Farm them by killing Leapers, either by stun-locking one with a jolt mine and blaze grenades or by shooting its exposed eyeball with a heavy weapon.
What’s the best place to farm Shredder damage for Phantom Targets?
The Port Authority building on Riven Tides. Clear the sentry turret outside, then lure the Shredder into the enclosed second-floor room and close the door behind it so it can’t leave. From there you can safely land Pop Trigger, Wasp Driver, and Leap Pulsion Unit damage in controlled bursts.
Which ARC should I target for the fire damage requirement?
The Bombardier. It’s the only common ARC that stays mostly stationary once aggroed, so your Blaze Grenades and Fireball Burners land consistently instead of missing a moving target like the Shredder.
What’s the best weapon for the energy damage objective?
The Jupiter. It outperforms the Aelion and the Dabra for this requirement and works well against Rocketeers at range or against a Bastion’s exposed core once you’ve broken its top plating.
Where should I go for the flying ARC kill requirement?
Riven Tides has the highest concentration of flying ARC. Target Wasps and Hornets over Rocketeers, since Rocketeers absorb far more launcher ammo per kill.