Firefights in Arc Raiders don’t wait for you to catch up.
A raider drops behind cover, an ARC machine locks on from a rooftop, and the whole exchange is over in two or three seconds.
Default controller settings weren’t built for that pace, and they’ll cost you loot and gear you can’t afford to lose.
Dialing in your sensitivity, aim assist, and deadzones on PS5 fixes that, and it takes less time than one bad extraction.
Table of Contents
- [Best Arc Raiders Controller Settings for PS5 (Quick Reference)]> (#best-arc-raiders-controller-settings-for-ps5-quick-reference)
- Aim Assist: On or Off?
- Sensitivity and ADS Tuning
- Response Curve and Look Boost
- Deadzones: Avoiding Stick Drift Problems
- Stock DualSense vs. DualSense Edge Settings
- Adjusting Settings by Weapon Type
- Key Takeaways
- Frequently Asked Questions
Best Arc Raiders Controller Settings for PS5 (Quick Reference)
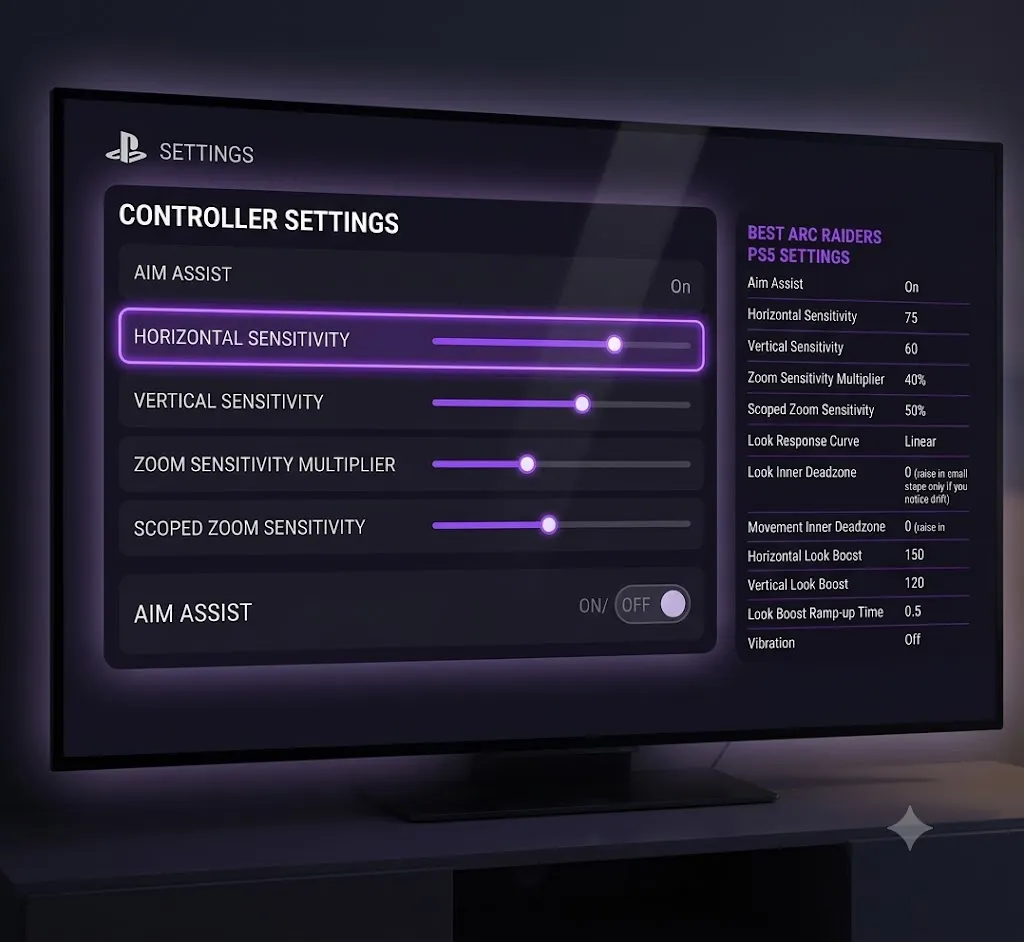
| Setting | Recommended Value |
|---|---|
| Aim Assist | On |
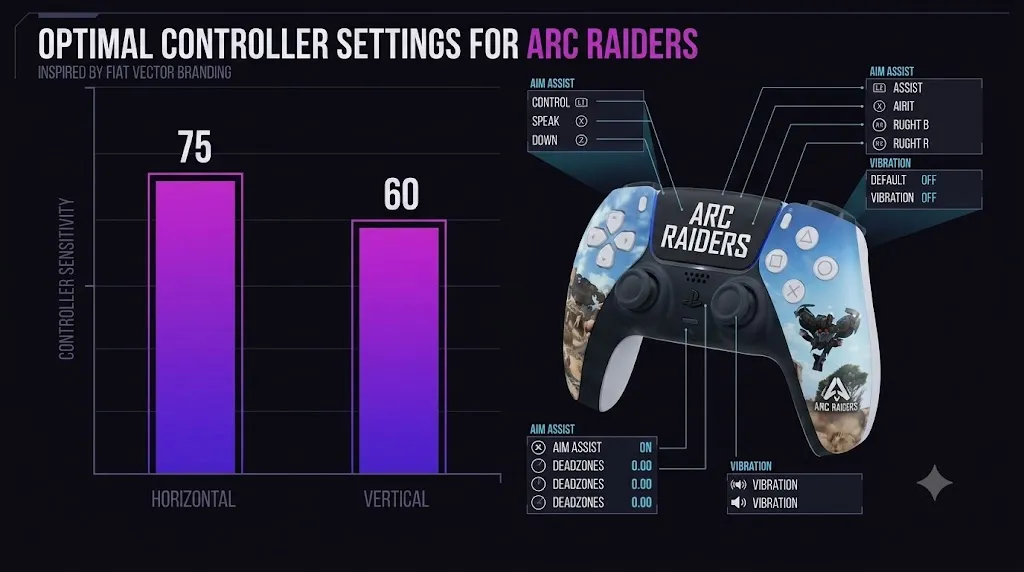
| Horizontal Sensitivity | 75 |
| Vertical Sensitivity | 60 |
| Zoom Sensitivity Multiplier | 40% |
| Scoped Zoom Sensitivity | 50% |
| Look Response Curve | Linear |
| Look Inner Deadzone | 0 (raise in small steps only if you notice drift) |
| Movement Inner Deadzone | 0 (raise in small steps only if you notice drift) |
| Horizontal Look Boost | 150 |
| Vertical Look Boost | 120 |
| Look Boost Ramp-up Time | 0.5 |
| Vibration | Off |
| Interact/Reload Behavior | Tap to Interact |
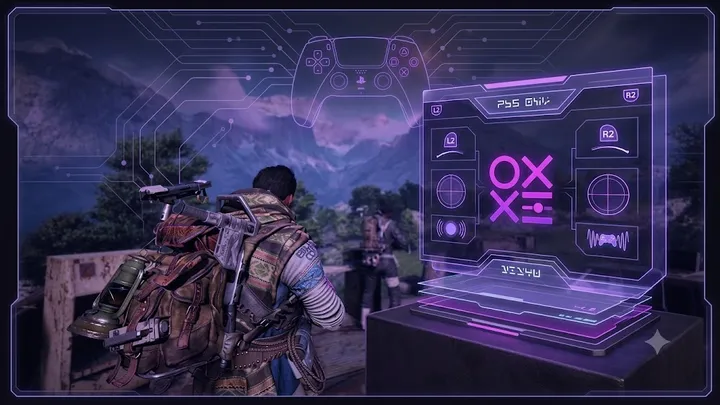
[Visual 1: Settings menu comparison. Alt text: “settings menu”. AI prompt: “Realistic photo-style mockup of a PS5 game settings menu showing sensitivity sliders and aim assist toggle, dark UI, dramatic side lighting, screen glow in a dim room”]
A quick note before you copy these in: the in-game settings menu covers keybinds, graphics, audio, and controller options, and can be reached by pressing Escape while in Speranza or Topside.
What it doesn’t include is any developer-published “best” configuration.
Every number in that table, including these, comes from community testing across multiple gaming outlets, not an official baseline.
Treat it as a strong starting point, not a fixed answer, and expect to nudge a few values once you’ve run it in the Practice Range.
Aim Assist: On or Off?
This is where controller players in Arc Raiders split into two camps, and both have a real argument behind them.
The majority position is aim assist on.
As Dexerto notes, aim assist is a real part of Arc Raiders combat, even if it’s less pronounced than in a first-person shooter like Call of Duty, and most enemies you face will be using it too.
Turning it off puts you at a real disadvantage in mixed lobbies where other controller players are getting that tracking help and you aren’t.
The minority position, usually from more mechanically confident players, is aim assist off paired with a much higher raw sensitivity.
Our recommendation: leave aim assist on unless you already have hundreds of hours on a controller in fast shooters and know your raw tracking can carry a fight without it.
For most raiders, aim assist off just means missing shots you’d otherwise land, with no upside to offset it.
Sensitivity and ADS Tuning
Horizontal vs. Vertical Sensitivity
A 75/60 horizontal-to-vertical split shows up across multiple independently tested configurations, and it’s not arbitrary.
Your screen is wider than it is tall, so you naturally need more horizontal turning speed to track side-to-side movement and check corners, while vertical sensitivity only has to cover a smaller range of motion.
Pushing vertical sensitivity as high as horizontal usually just makes your aim overshoot targets vertically.
If you’re coming from a slower third-person game, this baseline will feel fast for the first hour or two.
Don’t drop it to 30 out of instinct.
Give it a few raids before you decide it’s wrong for you.
Zoom / ADS Sensitivity Multiplier
Aiming down sights needs to be slower than your hipfire turn speed, and a 40% zoom multiplier with 50% scoped sensitivity is the common pairing across tested configurations.
This keeps your hipfire snappy enough to survive a close-range ambush while slowing your fine aim enough that recoil control and target tracking don’t fall apart the moment you scope in.
If you find yourself consistently overcorrecting while aiming down sights, drop the zoom multiplier by 2 to 5 points at a time rather than making a big jump.
Response Curve and Look Boost
Arc Raiders offers a handful of response curve options, and Linear is the default recommendation nearly everywhere you look.
With a linear curve, your reticle moves in direct proportion to how far you push the stick, so there’s no acceleration curve to account for mid-fight.
Exponential response, which ramps up more aggressively the further you push the stick, is worth trying if Linear feels too twitchy for your hands, but most players land on Linear and stay there.
Look boost is a separate setting from raw sensitivity, and it’s easy to confuse the two.
It controls how quickly your turn speed ramps up as you hold the stick at full deflection, not how fast your aim moves in general.
A horizontal boost around 150, vertical around 120, and a 0.5 second ramp-up time gives you smooth, controlled movement at the start of a stick push, then a faster full turn once you’ve committed to it.
That combination lets you make small tracking adjustments without overshooting, while still being able to spin around fast when someone flanks you.
Deadzones: Avoiding Stick Drift Problems
Setting your inner deadzone to 0 removes any dead space between where you move the stick and where your aim responds, and on a fresh controller with tight sticks, that’s the recommended starting point.
The tradeoff is that a deadzone of 0 also amplifies any natural stick noise into visible camera creep, and if your controller has even mild drift, it turns that drift into a constant, distracting pull on your aim.
Here’s how to check whether 0 actually works for your controller:
- Set both look and movement inner deadzone to 0.
- Stand still somewhere quiet and take your thumb completely off the right stick.
- If the camera drifts on its own, raise the deadzone by one or two points and check again.
- Repeat until the camera holds fully still.
Stop as soon as the drift disappears.
Don’t keep raising the deadzone past that point, since every extra point past what you need just adds dead space you’re not getting anything for.
If you’re still seeing drift after raising the deadzone several times, the issue is likely the hardware itself, and no software setting will fully fix it.
Stock DualSense vs. DualSense Edge Settings
Your button layout matters just as much as your sensitivity numbers, and it depends heavily on which controller you’re running.
On a stock DualSense with no back buttons, the safest change is moving one high-frequency action off the face buttons entirely.
Crouch or slide is the best candidate, since it’s the move you’ll reach for most often while tracking an enemy, and needing to lift your thumb off the right stick to hit a face button costs you tracking accuracy at exactly the wrong moment.
If you’re running a DualSense Edge or another controller with back paddles, you have more room to work with.
Put crouch or slide on one paddle and jump on the other.
That keeps both movement actions available without ever pulling your thumb away from the aim stick, which matters most in the tight, vertical spaces Arc Raiders throws at you constantly.
One caveat worth flagging: if your controller has any stick drift, aggressive remapping can make that drift more noticeable rather than less.
It’s not that the remap causes the drift, it’s that you’ll naturally play more aggressively once movement feels smoother, and that makes small camera creep harder to ignore.
This is another reason to solve deadzone tuning before you commit to a remap.
Adjusting Settings by Weapon Type
The baseline settings above work as a general-purpose configuration, but your ideal ADS sensitivity shifts depending on what you’re holding.
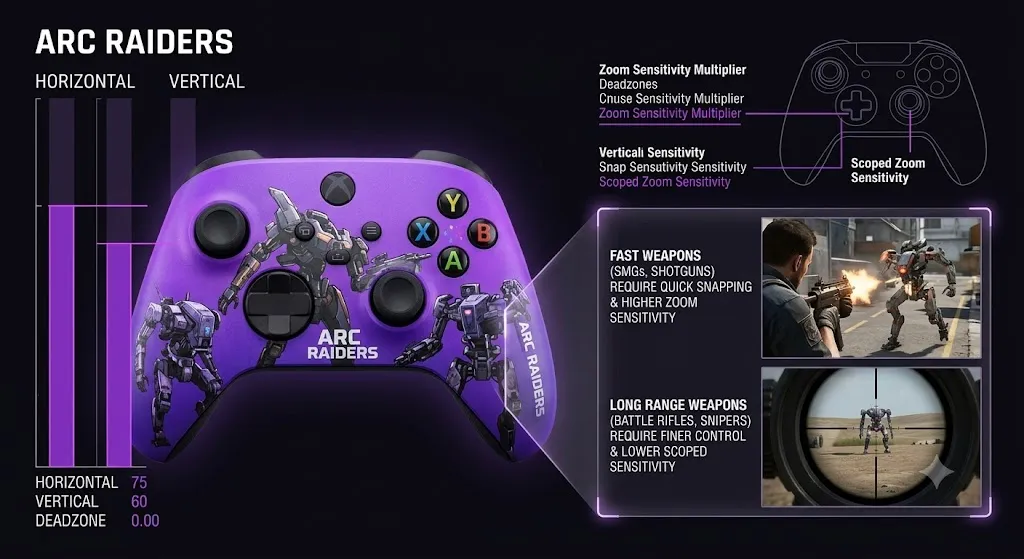
Fast, close-range weapons like SMGs and shotguns reward a slightly higher zoom sensitivity, since you need to snap onto a moving target inside a few meters and don’t have time to walk your aim in gradually.
Longer-range weapons like battle rifles and sniper rifles benefit from the opposite: lowering your scoped sensitivity a touch gives you finer control for tracking a target across open ground, where small stick movements translate into much bigger reticle swings at range.
If you find yourself swapping between playstyles often, it’s worth testing your zoom multiplier specifically in the Practice Range with both a close-range weapon and a long-range one before you lock in a single number.
Key Takeaways
- Start with a 75/60 horizontal-to-vertical sensitivity split and adjust from there after a few raids.
- Keep aim assist on unless you have significant controller shooter experience and know your raw aim can compensate.
- Use a 40% zoom multiplier and 50% scoped sensitivity as your ADS baseline, then fine-tune in small steps.
- Stick with a Linear response curve unless it feels too twitchy for your playstyle.
- Set deadzones manually using the stand-still test rather than defaulting straight to 0.
- Remap crouch or slide off the face buttons if you’re on a stock DualSense, and use back paddles for both crouch and jump if you have a DualSense Edge.
- Retest your zoom sensitivity separately for close-range and long-range weapons.
- These are community-tested numbers, not an official Embark baseline, so treat them as a starting point.
Frequently Asked Questions
What’s the best sensitivity for Arc Raiders on PS5?
A 75 horizontal and 60 vertical sensitivity split is the most common recommendation among tested PS5 controller configurations. It accounts for the fact that your screen is wider than it is tall, so horizontal tracking needs more speed than vertical.
Should aim assist be on or off in Arc Raiders?
Aim assist on is the recommendation for most players, since the majority of enemies you face are also using it. Turning it off only makes sense if you already have strong raw aim from other controller shooters.
What is the best response curve for Arc Raiders?
Linear is the most widely recommended response curve. It moves your reticle in direct proportion to stick input, with no acceleration to account for, which makes tracking more predictable in fast fights.
Do I need to lower my deadzones if I have stick drift?
No, and you should actually raise them slightly. A deadzone of 0 turns any natural stick noise from drift into visible camera movement. Use the stand-still test to find the lowest deadzone that still keeps your camera fully still.
What’s a good ADS sensitivity for Arc Raiders?
A 40% zoom sensitivity multiplier with a 50% scoped sensitivity is a solid baseline. It keeps hipfire responsive while slowing your fine aim enough to control recoil once you’re aiming down sights.
Should I use different settings for different weapons?
It’s worth it if you swap playstyles often. Close-range weapons like SMGs benefit from slightly higher zoom sensitivity, while long-range weapons like sniper rifles benefit from a slightly lower one for finer control at distance.
What controller settings should I remap first in Arc Raiders?
Crouch or slide is the highest-value remap, since it’s used constantly while tracking enemies. Move it off the face buttons and onto a back paddle if your controller has one.
Does the DualSense Edge make a real difference in Arc Raiders?
Back paddles let you keep both crouch/slide and jump accessible without lifting your thumb off the aim stick, which is a real advantage in the game’s tight, vertical spaces. It’s a comfort and consistency upgrade rather than a raw performance one.
Are there official recommended controller settings from the developer?
No. Arc Raiders’ settings menu lets you customize sensitivity, aim assist, and deadzones, but there’s no published “best settings” list from the developer. Every recommendation, including this one, comes from community testing.
Why does Arc Raiders feel different on controller than other shooters?
The combination of fast PvPvE encounters, vertical movement, and ARC machines that behave differently from human opponents means default settings tuned for a typical third-person shooter often feel too slow or too twitchy. That’s why manual tuning matters more here than in most other games.
Should I test new settings in real raids or the Practice Range?
Always test in the Practice Range first. Changing sensitivity or deadzones mid-raid and getting caught off guard by the new feel is a fast way to lose loot you can’t get back.